How to Make Perfect Mummy Cookies Fast
If you’re craving a delightful treat that blends spooky fun with irresistible flavors, look no further than these Mummy Cookies. Learn the secret to making delicious Mummy Cookies quickly with this easy, spooky recipe perfect for Halloween treats and parties! These charming cookies bring together soft textures, sweet tastes, and a dash of Halloween magic, making them a fantastic go-to whenever you want to impress guests or surprise your family with a creative snack.
Why You’ll Love This Recipe
- Quick and Easy Preparation: Ready in under 30 minutes, perfect for last-minute Halloween baking sessions.
- Kid-Friendly Fun: Decorating Mummy Cookies is an engaging activity that kids will adore.
- Deliciously Soft Texture: Each cookie is tender and chewy, a perfect balance with sweet icing.
- Perfect for Parties: They add a festive flair and make a great conversation starter at any event.
- Customizable Flavors: Easily adapt the basic recipe to suit your favorite tastes or dietary needs.
Ingredients You’ll Need
This recipe calls for simple, easy-to-find ingredients that come together beautifully. Each item plays a vital role, whether adding sweetness, texture, or that signature mummy look.
- Cookie Dough: Use a classic sugar cookie or buttery shortbread base for softness and structure.
- White Icing or Frosting: Essential for creating the mummy’s wrapping effect and adding smooth sweetness.
- Mini Chocolate Chips or Candy Eyes: For those iconic, spooky eyes that bring the mummies to life.
- Butter: Adds richness and tenderness to the cookie dough.
- Granulated Sugar: Balances sweetness and gives cookies the right crumb.
- Flour: The core foundation for cookie texture.
- Baking Powder: Ensures rise and fluffiness without compromising firmness.
- Vanilla Extract: Adds warmth and depth to the cookie flavor.
Variations for Mummy Cookies
Mummy Cookies are incredibly adaptable, allowing you to personalize them to your taste and dietary needs. Here are some ideas to kickstart your creativity.
- Chocolate Base: Swap the plain dough for chocolate cookie dough for a deeper flavor.
- Gluten-Free: Use gluten-free flour blends without sacrificing texture or taste.
- Vegan-Friendly: Replace butter with coconut oil and use plant-based icing options.
- Spiced Flavor: Add cinnamon or nutmeg to the dough for a festive twist.
- Colorful Icing: Use tinted frosting to create playful mummies with vibrant wrappings.

How to Make Mummy Cookies
Step 1: Prepare the Dough
Start by creaming the butter and sugar together until light and fluffy. Gradually add the vanilla extract before mixing in the flour and baking powder until you achieve a dough that’s smooth and easy to handle.
Step 2: Shape the Cookies
Roll the dough into small oval shapes about two inches long to mimic mummy bodies. Place each on a parchment-lined baking sheet, leaving space between for expansion.
Step 3: Bake
Bake the shaped cookies at 350°F (175°C) for 10 to 12 minutes until the edges are lightly golden but the centers remain soft.
Step 4: Add the Icing Wrappings
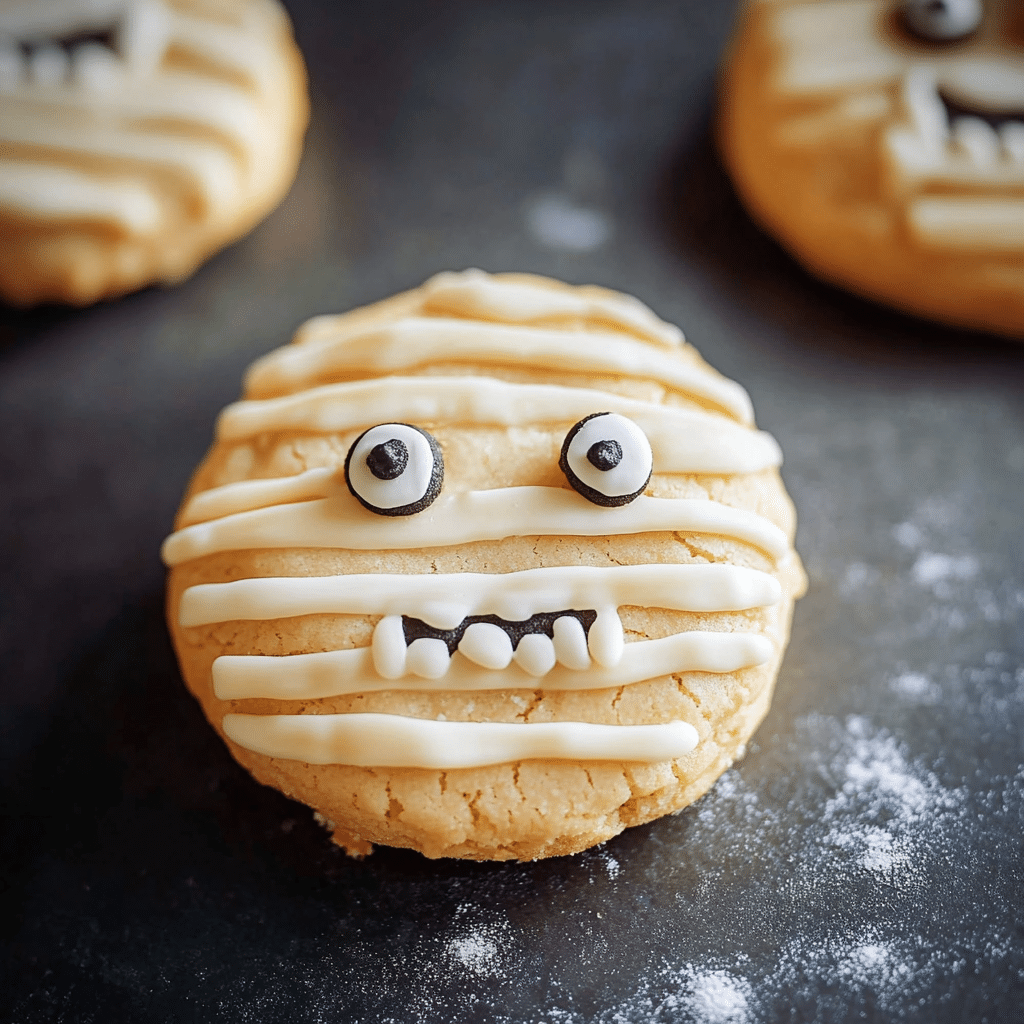
Once the cookies are cool, pipe white icing back and forth across the cookies in thin lines to resemble mummy bandages. Make sure to leave gaps for the eyes to peek through.
Step 5: Place the Eyes
Attach mini chocolate chips or candy eyes to the cookie while the icing is still wet so they stick perfectly and give the mummy its spooky gaze.
Pro Tips for Making Mummy Cookies
- Don’t Overbake: Remove cookies as soon as edges turn golden to keep them soft and chewy.
- Use Piping Bags: For clean and precise icing lines, a piping bag or a resealable plastic bag with a tiny corner cut works best.
- Chill the Dough: Refrigerate the dough for 30 minutes if it feels too soft to make shaping easier.
- Consistency is Key: Adjust the icing thickness with a bit of milk to ensure it’s not too runny or stiff.
- Let Icing Set Fully: Allow sufficient drying time so the decorations stay intact when handled.
How to Serve Mummy Cookies
Garnishes
Sprinkle a light dusting of powdered sugar or edible glitter over the cookies for an extra eerie effect that catches the light beautifully.
Side Dishes
Pair your Mummy Cookies with warm apple cider or hot chocolate to enhance the cozy, festive spirit of your Halloween celebrations.
Creative Ways to Present
Serve the cookies on a black platter with fake spider webs and plastic spiders for a spooky display, or place them in themed treat bags for party favors that guests will love.
Make Ahead and Storage
Storing Leftovers
Keep leftover Mummy Cookies in an airtight container at room temperature for up to five days to maintain that soft texture and fresh taste.
Freezing
Freeze fully baked and decorated cookies by placing them in a single layer on a baking sheet first, then transferring to a sealed container once solid. They will last up to three months.
Reheating
Warm cookies briefly in the microwave for about 10 seconds or in a low oven to retain softness and freshness before serving again.
FAQs
Can I use store-bought cookie dough for Mummy Cookies?
Absolutely! Store-bought dough works well and saves time; just shape, bake, and decorate as directed for quick festive treats.
What if I don’t have a piping bag to decorate?
No worries—use a resealable plastic bag with a tiny cut at one corner to pipe icing with ease and control.
Can Mummy Cookies be made dairy-free?
Yes, simply substitute butter with a dairy-free alternative and choose vegan-friendly icing to make a delicious dairy-free version.
How do I prevent icing from smudging before it dries?
Allow cookies to cool completely before decorating and let icing set undisturbed for at least an hour in a cool, dry place.
Are Mummy Cookies suitable for freezing before decorating?
You can freeze plain baked cookies but it’s best to decorate them fresh after thawing to avoid icing damage.
Final Thoughts
These Mummy Cookies are such a fun and tasty way to celebrate the Halloween season or any spooky occasion! The ease of the recipe combined with its versatility makes it a must-try for both seasoned bakers and enthusiastic beginners. So, grab your ingredients, channel your inner elf, and whip up a batch of these delightful mummies that everyone will love biting into. Happy baking and even happier haunting!